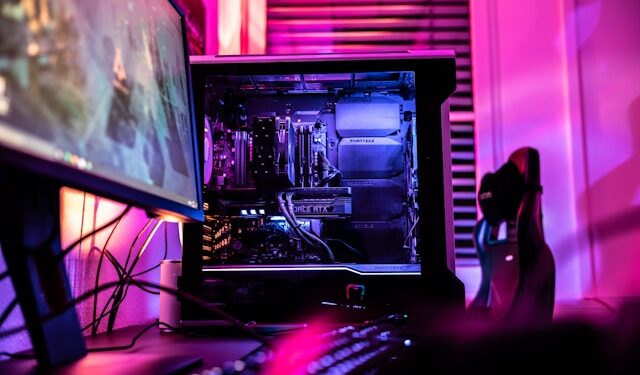
Building a gaming PC from scratch is a rewarding experience that allows you to customize your system for optimal performance and future upgrades. Whether you’re a beginner or an experienced gamer, this guide will walk you through selecting components, assembling your PC, and optimizing it for the best gaming experience.
Why Build a Gaming PC?
A custom-built gaming PC offers several advantages over pre-built systems. You have full control over component selection, ensuring better performance for your budget. Additionally, a DIY build allows for easier upgrades, better cooling solutions, and overall cost savings in the long run.
Choosing the Right Components
Selecting high-quality components is crucial for building a powerful gaming PC. Here’s what you need:
- CPU & GPU: The processor and graphics card are the backbone of your gaming system. Choose a CPU with strong single-core performance and a GPU that can handle your desired resolution and frame rates.
- Motherboard: Ensure compatibility with your CPU and other components while considering expansion options for future upgrades.
- RAM: For gaming, 16GB is the recommended minimum, but 32GB can offer better multitasking and future-proofing.
- Storage: An SSD significantly improves load times compared to an HDD. A combination of an NVMe SSD for the operating system and a larger HDD for storage is ideal.
- Power Supply Unit (PSU): Choose a PSU with enough wattage to support your components while maintaining energy efficiency.
- Cooling System: Depending on your CPU and GPU, you may need additional cooling, whether air or liquid cooling.
- Case: Select a case that fits your components while providing adequate airflow and cable management space.
Tools and Preparations
Before assembling your gaming PC, gather these essential tools:
- A Phillips-head screwdriver
- An anti-static wrist strap to prevent damage
- Thermal paste (if not pre-applied to the CPU cooler)
- Cable ties for better cable management
Prepare a clean, well-lit, and static-free workspace to ensure a smooth build process.
Step-by-Step Assembly Guide
- Install the CPU – Carefully place the CPU into the motherboard socket, aligning the markers, and secure it with the retention arm.
- Apply Thermal Paste – If your cooler doesn’t have pre-applied thermal paste, apply a small amount before mounting the cooler.
- Install RAM Modules – Insert RAM sticks into the designated slots, ensuring they snap into place.
- Mount the Motherboard – Secure the motherboard inside the case using the included screws.
- Install Storage Drives – Mount SSDs or HDDs in the appropriate bays and connect them to the motherboard.
- Connect the Power Supply – Install the PSU and connect the necessary cables to the motherboard, GPU, and drives.
- Install the GPU – Insert the graphics card into the PCIe slot and secure it with screws.
- Manage Cables – Route cables neatly using cable ties for better airflow.
First Boot and BIOS Setup
Once assembled, power on your PC and enter the BIOS by pressing the designated key (usually Delete or F2). Ensure all components are detected, set the correct boot order, and update the BIOS if necessary.
Installing the Operating System and Drivers
Install an OS such as Windows or Linux from a bootable USB drive. After installation, download and install the latest drivers for the GPU, motherboard, and peripherals to ensure optimal performance.
Optimizing Performance for Gaming
- Overclocking the CPU and GPU can enhance performance but requires monitoring temperatures.
- Adjust in-game settings to balance performance and visual quality.
- Use software tools to track system temperatures and performance metrics.
Final Tips and Troubleshooting
If your PC doesn’t boot, check power connections, RAM placement, and ensure all cables are properly seated. Future-proof your system by investing in quality components that allow for easy upgrades.
Conclusion
Building a gaming PC from scratch is an exciting and rewarding process that gives you complete control over performance and customization. By following these steps, you’ll have a powerful gaming setup ready to handle the latest titles. Enjoy your new gaming experience and keep upgrading as needed to stay ahead in the gaming world.


