Let’s face it, we’ve all come across a website that won’t load while surfing the web. Despite the fact that the site appears to work on other devices, it does not load on a PC. This is most commonly caused by an out-of-date DNS cache or DNS cache corruption. (How to Flush DNS Cache in Windows 11)
Microsoft’s latest operating system, Windows 11, is not completely free of problems and errors. Many Windows 11 users have complained about difficulties accessing certain websites or apps. So, if you’re running Windows 11 and have trouble accessing websites or apps, this is the article for you.
Steps to Flush DNS Cache in Windows 11
We’ll go through a couple of the best ways to flush DNS cache in Windows 11 in this article. Most internet connectivity issues can be resolved by flushing the DNS cache in Windows 11. Let’s have a look at how to clear the DNS cache in Windows 11.
1. Flush DNS Cache with CMD
In this approach, we’ll flush the DNS cache with the Windows 11 CMD. Take a look at the basic methods outlined below.
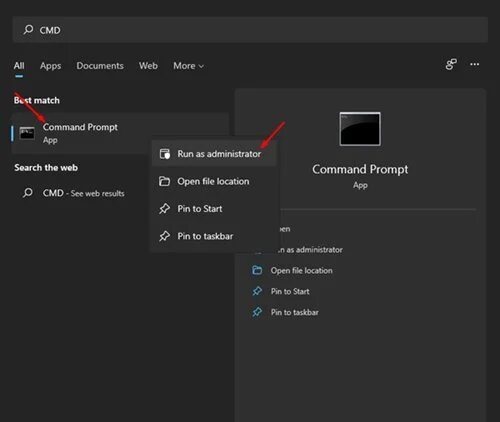
- To begin, go to the Start menu and put in ‘CMD.’ Right-click on the CMD and choose ‘Run as administrator.’

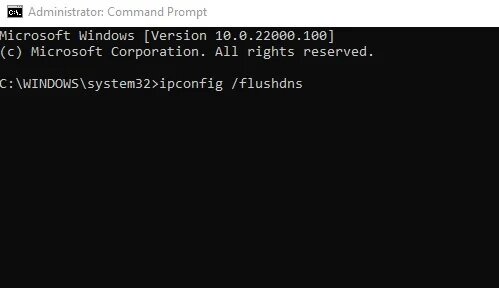
- To use the Command Prompt, type the following command and press the Enter key. ipconfig /flushdns

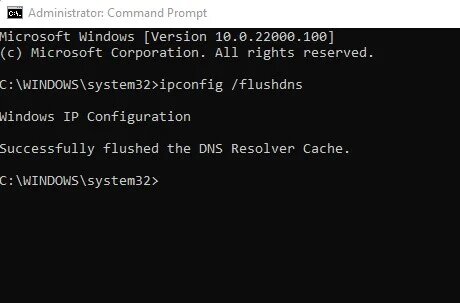
3. After the task has been completed, you will receive a notice stating that the task has been completed successfully.
That concludes our discussion. You’ve completed your task. This is how you may use Command Prompt to clear the DNS cache in Windows 11.
2. Use PowerShell to flush the DNS Cache in Windows 11
Just like the Command Prompt, you can use PowerShell to flush the DNS Cache. You must take some of the easy steps outlined below.
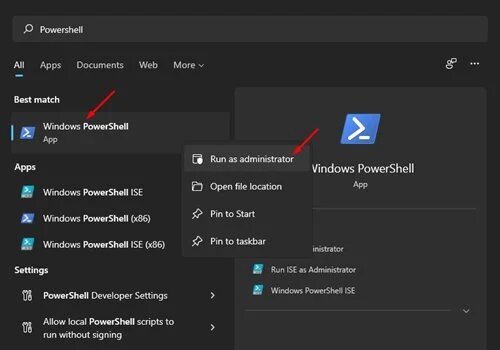
- To begin, open Windows search and put in ‘PowerShell.’ Next, right-click on Windows Powershell and choose the ‘Run as Administrator option from the context menu.

- Copy and paste the following command into the PowerShell window then press Enter. Clear-DnsClientCache


That concludes our discussion. You’ve completed your task. This is how you may clear your Windows 11 computer’s DNS cache.
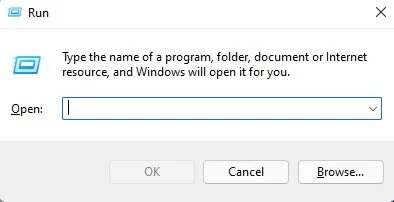
3. Flushing DNS Cache with the RUN Command
In this technique, we’ll use the Run dialogue box in Windows 11 to flush the DNS cache. To flush DNS cache, simply follow the easy procedures outlined below.
- To begin, hit the Windows Key + R combination on your keyboard. The Run dialogue box will appear.

- Enter ‘ipconfig /flushdns’ in the Run dialogue box and press Enter.


That concludes our discussion. You’ve completed your task. On Windows 11, the operation above will clear the DNS cache.
4. Clear DNS Cache in Google Chrome
Some Windows apps, such as Google Chrome, save their own DNS cache. Chrome’s DNS cache differs from the DNS cache on your operating system. As a result, you’ll need to delete the Chrome browser‘s DNS cache as well.
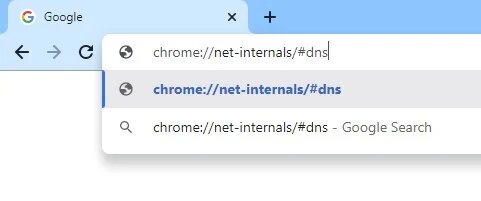
- To begin, launch the Google Chrome web browser.
- Enter chrome:/net-internals/#dns in the URL bar and press Enter.

- Click the ‘Clear host cache button on the landing page.


That concludes our discussion. You’ve completed your task. In Windows 11, here is how you may clear the DNS cache.
Conclusion:
So, this article will show you how to clear the DNS cache in Windows 11. I hope you found this material useful! Please pass it on to your friends as well. Don’t forget to send us your suggestions and feedback. Goodbye!